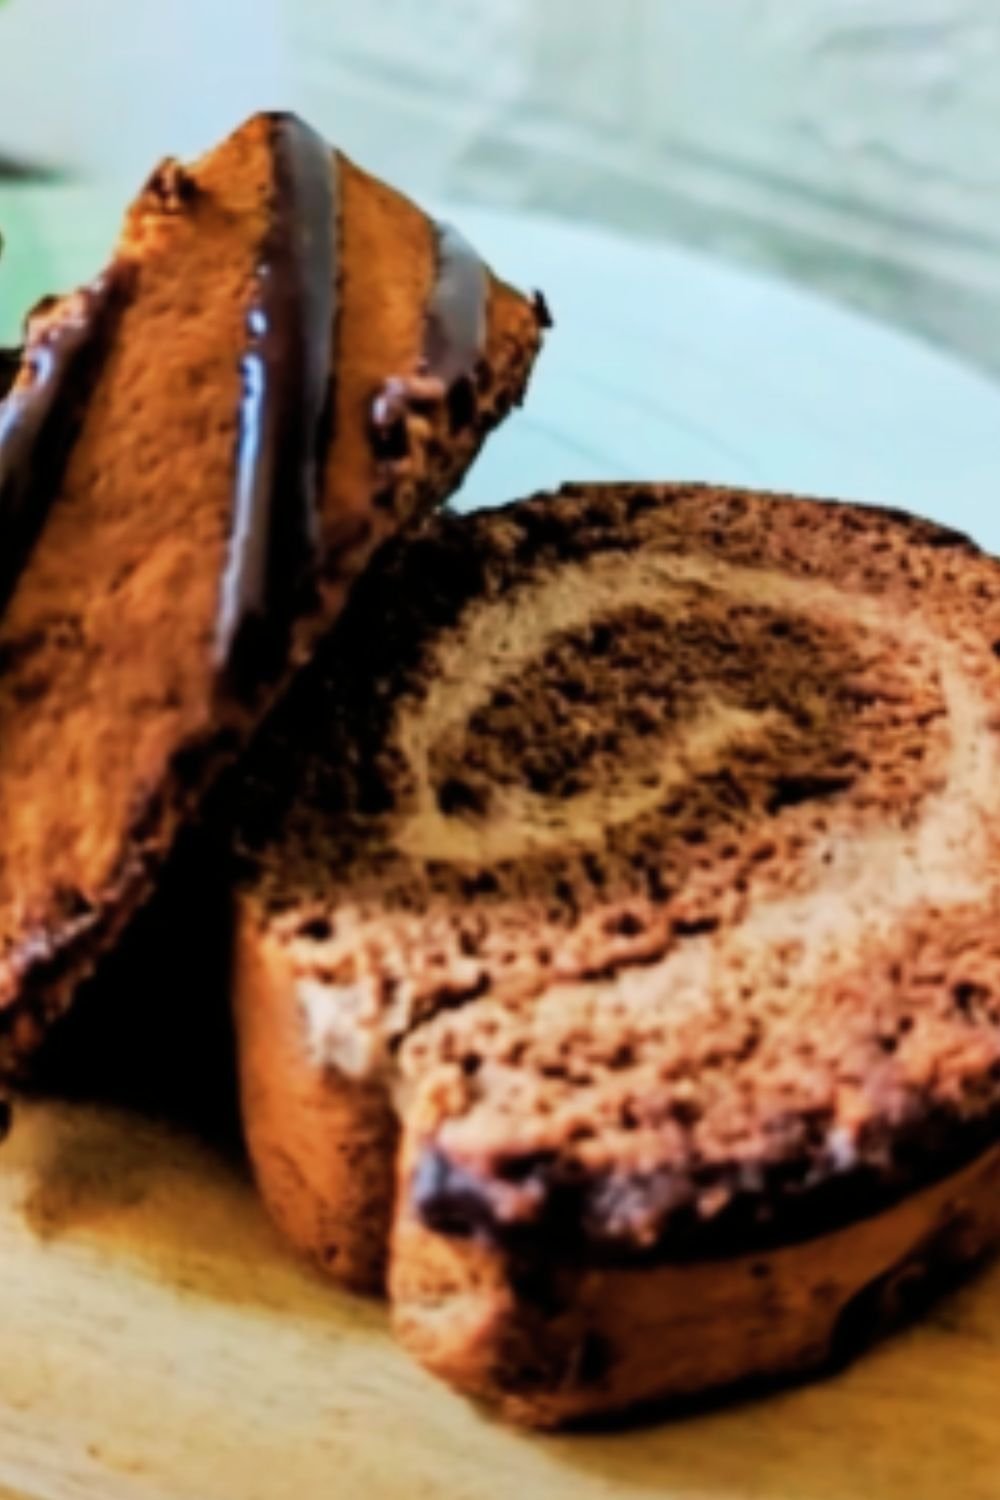
There’s something magical about the perfect chocolate Swiss roll. That beautiful spiral of tender chocolate sponge cake wrapped around a cloud-like filling has always captured my heart. As a baker who’s made more Swiss rolls than I can count, I’m excited to share my tried-and-true recipe that guarantees success every time.
I remember my first attempt at making a Swiss roll—it cracked badly when I tried to roll it up! After much experimentation and many lessons learned, I’ve perfected the technique. Today, I’m sharing all my tips and tricks so you can create this elegant dessert with confidence.
What Makes a Swiss Roll Special?
Swiss rolls (also called jelly rolls or roulade cakes) are light, airy sponge cakes filled with cream, frosting, or jam, then rolled into a beautiful spiral. Despite their name, Swiss rolls likely originated in Central Europe—not Switzerland—in the nineteenth century.
The chocolate version we’re making today pairs a cocoa-infused sponge with a light, whipped cream filling, creating a dessert that looks impressive but is surprisingly simple to make once you understand the process.
Essential Ingredients
For this recipe, quality matters! Here’s what you’ll need:
For the Chocolate Sponge:
- 4 large eggs, at room temperature
- 100g granulated sugar
- 1 teaspoon vanilla extract
- 65g all-purpose flour
- 20g unsweetened cocoa powder (use Dutch-processed for a richer flavor)
- 1/2 teaspoon baking powder
- 1/4 teaspoon salt
- 30g unsalted butter, melted and cooled
For the Filling:
- 240ml heavy whipping cream, cold
- 3 tablespoons powdered sugar
- 1 teaspoon vanilla extract
- Optional: 100g mascarpone cheese for stability
For the Chocolate Ganache:
- 100g dark chocolate, finely chopped
- 120ml heavy cream
- 15g unsalted butter (for shine)
Essential Equipment
Before we begin, make sure you have:
- 10×15-inch jelly roll pan or Swiss roll tin
- Parchment paper
- Electric mixer (stand or hand)
- Fine-mesh sieve for sifting
- Clean kitchen towel
- Offset spatula
- Wire cooling rack
Step-by-Step Instructions
Prepare Your Workspace
- Preheat your oven to 350°F (180°C).
- Line your jelly roll pan with parchment paper, leaving an overhang on the short sides for easy removal. Lightly grease the paper.
- Lay a clean kitchen towel flat on your counter and dust it with cocoa powder (this prevents the cake from sticking when you roll it).
- Sift together the flour, cocoa powder, baking powder, and salt in a bowl. Set aside.
Make the Chocolate Sponge
- In a large bowl or stand mixer, beat the eggs on medium-high speed for 1 minute until frothy.
- Gradually add the sugar while continuing to beat, then increase speed to high and beat for 4-5 minutes until the mixture is pale, thick, and tripled in volume. When you lift the beater, the batter should fall back in ribbons that sit on the surface for a few seconds before disappearing.
- Gently fold in the vanilla extract.
- Sift the dry ingredients over the egg mixture in three batches, folding gently after each addition. Use a wide spatula and a figure-eight motion, cutting through the center and around the sides of the bowl.
- Take about 1/4 cup of the batter and mix it with the melted butter in a separate small bowl until combined.
- Fold this butter mixture back into the main batter until just incorporated. This technique prevents the butter from deflating your batter.
Bake the Sponge
- Pour the batter into your prepared pan and gently spread it into an even layer using an offset spatula.
- Tap the pan lightly on the counter a few times to remove any large air bubbles.
- Bake for 10-12 minutes until the cake springs back when touched lightly in the center. Don’t overbake, or the cake will crack when rolled!
The Critical Rolling Stage
- As soon as the cake comes out of the oven, run a knife around the edges to loosen it.
- Carefully invert the hot cake onto your prepared towel, peel off the parchment paper, and trim off any crispy edges.
- Starting from the short end, use the towel to help you roll the cake into a spiral (with the towel inside).
- Allow the cake to cool completely in this rolled position (about 1 hour). This “trains” the cake to roll without cracking.
Prepare the Filling
- In a chilled bowl, whip the cold heavy cream, powdered sugar, and vanilla until soft peaks form.
- If using mascarpone, whip it separately until smooth, then fold into the whipped cream. The mascarpone adds stability and prevents the cream from weeping.
Assemble Your Swiss Roll
- Gently unroll the cooled cake. It may still curve a bit, which is normal.
- Spread the filling evenly over the cake, leaving a 1/2-inch border on all sides.
- Re-roll the cake (without the towel this time), using the towel to help you lift and guide it if needed.
- Place the roll seam-side down on a wire rack set over a baking sheet.
- Chill for at least 30 minutes to set while you prepare the ganache.
Make the Chocolate Ganache
- Place the chopped chocolate in a heatproof bowl.
- Heat the cream in a small saucepan until it just begins to simmer around the edges.
- Pour the hot cream over the chocolate and let it sit undisturbed for 1 minute.
- Gently stir until smooth, then add the butter and stir until melted and incorporated.
- Let the ganache cool until slightly thickened but still pourable (about 10-15 minutes).
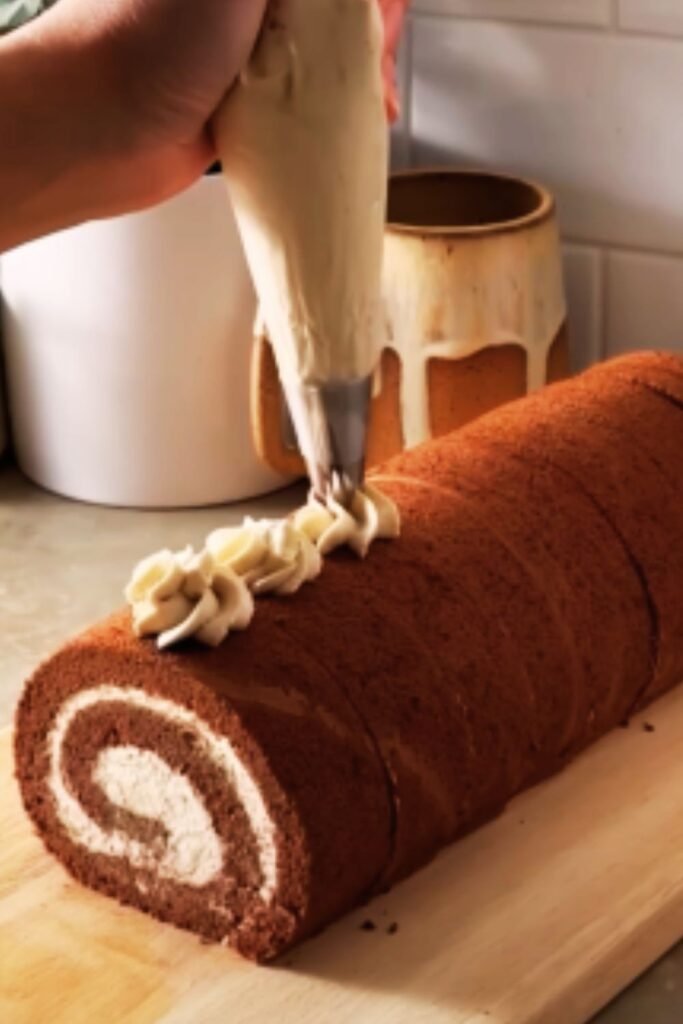
The Finishing Touch
- Pour the ganache over the chilled Swiss roll, using an offset spatula to ensure even coverage on the top and sides.
- Return to the refrigerator to set for at least 30 minutes.
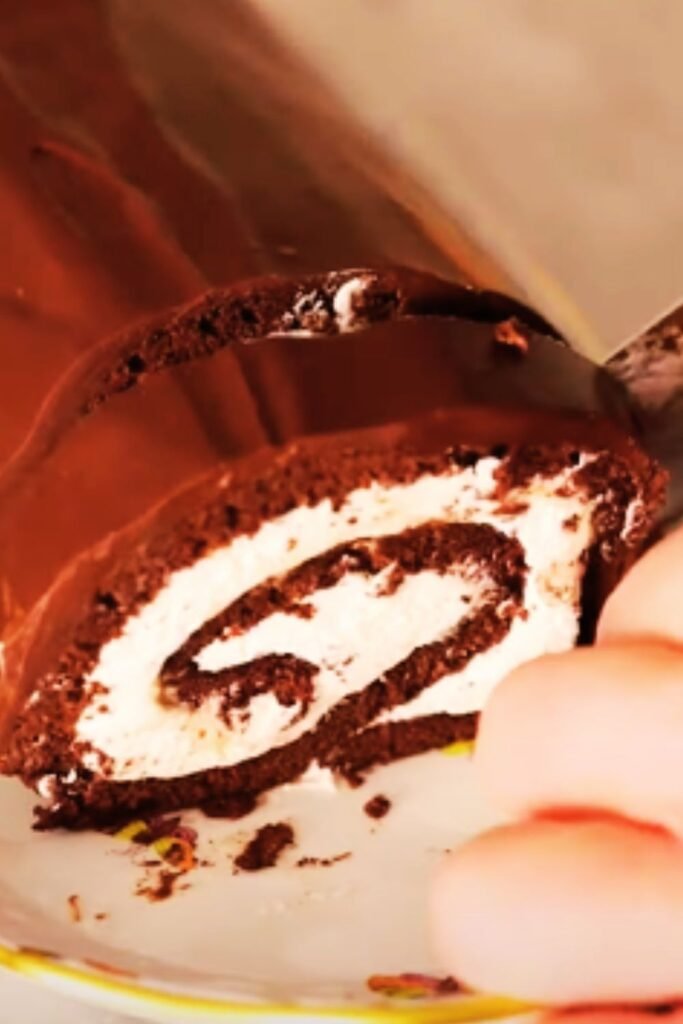
- For the perfect slice, use a sharp knife dipped in hot water and wiped clean between cuts.
Detailed Comparison: Common Swiss Roll Problems and Solutions
| Problem | Cause | Solution |
|---|---|---|
| Cake cracks when rolling | Overbaked sponge | Bake just until the center springs back; roll immediately while warm |
| Dense, heavy texture | Under-whipped eggs | Beat eggs and sugar until tripled in volume and very pale |
| Filling oozes out | Too much filling or too soft | Use slightly less filling; chill before cutting; add mascarpone for stability |
| Cake sticks to towel | Insufficient dusting | Be generous with cocoa powder or powdered sugar on your towel |
| Cake is dry | Overbaking or incorrect flour measurement | Reduce baking time; measure flour correctly (spoon and level) |
| Uneven spiral | Uneven filling distribution | Use an offset spatula for even filling application |
| Ganache too runny | Not cooled enough | Allow ganache to thicken slightly before pouring |
| Ganache too thick | Cooled too long | Gently reheat over a water bath or add a splash of warm cream |
Variations to Try
Once you’ve mastered the basic chocolate Swiss roll, try these creative variations:
Chocolate-Mint Swiss Roll
Add 1/4 teaspoon peppermint extract to the filling and garnish with crushed peppermint candies.
Black Forest Swiss Roll
Fill with whipped cream and cherry compote; add kirsch to the ganache for an authentic touch.
Mocha Swiss Roll
Add 1 tablespoon instant espresso powder to the cake batter and coffee liqueur to the filling.
Chocolate-Orange Swiss Roll
Add orange zest to the cake batter and a splash of orange liqueur to the ganache.
Make-Ahead and Storage Tips
A Swiss roll is perfect for making ahead! Here’s how to store it:
- Unfilled sponge: Wrap tightly in plastic wrap while still in its rolled shape. Store at room temperature for up to 1 day.
- Filled, unglazed roll: Wrap in plastic wrap and refrigerate for up to 2 days.
- Completed Swiss roll: Store in an airtight container in the refrigerator for up to 3 days.
- Freezing: Wrap individual slices tightly in plastic wrap, then foil. Freeze for up to 1 month. Thaw in the refrigerator overnight.
Serving Suggestions
For the perfect presentation:
- Dust with additional cocoa powder or powdered sugar before serving
- Serve with fresh berries on the side
- Add a scoop of vanilla ice cream for a decadent dessert
- Pair with a cup of hot coffee or tea
- For special occasions, garnish with chocolate curls or fresh edible flowers
Nutritional Information
| Nutrient | Amount per Serving (1 slice) |
|---|---|
| Calories | 320 |
| Total Fat | 18g |
| Saturated Fat | 11g |
| Cholesterol | 105mg |
| Sodium | 75mg |
| Total Carbohydrates | 35g |
| Dietary Fiber | 1g |
| Sugars | 26g |
| Protein | 4g |
Note: Nutritional values are approximate and based on 10 servings per roll.
Common Questions About Swiss Rolls
Q: Why did my Swiss roll crack when I rolled it? A: The most common reason is overbaking. The cake should be springy to the touch but not dry. Always roll the cake while it’s still warm from the oven, as this is when it’s most flexible.
Q: Can I make this Swiss roll without dairy? A: Yes! You can substitute the butter with a plant-based butter alternative and use coconut cream instead of heavy cream for the filling and ganache. Just make sure to chill the coconut cream overnight and use only the solid part.
Q: How far in advance can I make a Swiss roll for a party? A: I recommend making it no more than 24-48 hours in advance. Store it in the refrigerator, but bring it to room temperature for about 20-30 minutes before serving for the best texture and flavor.
Q: My filling keeps squeezing out when I roll the cake. What am I doing wrong? A: You might be using too much filling or your filling might be too soft. Try using a bit less filling and making sure your whipped cream is whipped to medium-firm peaks. Adding mascarpone cheese also helps stabilize the filling.
Q: Can I use a different size pan? A: The pan size is important for getting the right thickness of cake. If you use a smaller pan, the cake will be thicker and may crack when rolled. If you use a larger pan, the cake will be too thin and may dry out during baking. If you must use a different size, adjust the baking time accordingly.
Q: My ganache seized and became grainy. How can I fix it? A: This usually happens when chocolate comes into contact with cold ingredients or if water gets into the mixture. To fix grainy ganache, add a tablespoon of hot cream and stir vigorously until smooth. You can also gently reheat it over a double boiler.
Q: Why is my Swiss roll not as light and fluffy as I’d like? A: The key to a light texture is properly whipping the eggs and sugar until they’ve tripled in volume and are very pale. This can take 4-5 minutes with an electric mixer on high speed. Also, be gentle when folding in the dry ingredients to preserve the air bubbles.
Q: Can I use a Swiss roll pan for other recipes? A: Absolutely! Swiss roll pans are versatile. You can use them for sheet cakes, cookie bars, roasting vegetables, or even as a small baking sheet for appetizers.
Why This Recipe Works
After years of testing, I’ve discovered a few secrets that make this Swiss roll recipe foolproof:
- Room temperature eggs whip up to a greater volume than cold eggs
- Proper aeration of the egg-sugar mixture creates the light texture essential for rolling
- Folding technique preserves air bubbles for a tender crumb
- Rolling while warm trains the cake to hold its shape
- Adding butter to a portion of the batter first prevents deflation
- Mascarpone in the filling adds stability and prevents weeping
My recipe prioritizes technique over complicated ingredients, focusing on the critical steps that ensure success. Whether you’re making your first Swiss roll or your fiftieth, these methods will help you create a dessert that’s as beautiful as it is delicious.
The perfect chocolate Swiss roll is a balance of flavors and textures—tender chocolate cake, light creamy filling, and rich ganache topping. Master this recipe, and you’ll have an impressive dessert that’s perfect for any occasion, from casual family gatherings to elegant dinner parties.
Happy baking!